Saturday, June 29, 2013

Bento Box a go-go!

Finally another finish from the UFO pile, a wacky bento box swap. I added some Kona solids and a few Go baby! swap fabrics from a FRMQ Guild swap and voila!

Front


Back
The details:
Title: Waiting (and waiting) for Spring
Size: 88" x 70"
Design layout and quilting- Me
Material: Front- various quilting cottons, Kona solids: Charcoal, Coal and Snow
               Back- various quilting cottons, Kona solids: Charcoal and Coal
Batting: 100% cotton warm and natural
Thread: Aurifil, 50 wt Mako cotton, various colors
From the front, you really can't see the FMQ at all


Even in a close up, it's hard to see


But from the back, the FMQ really stands out

Each Bento box section has a different flower


Close up of some of the flowers and the Go Baby! fabrics from the FRMQG

Close up of a stylized bleeding heart

Close-up of dogwood blossoms. It looks like there are 5 flowers, but it's an optical illusion


Saturday, June 15, 2013

Kitchen confidential

It never gets old sewing for the kitchen and sewing for friends. So how about mixing those 2 ingredients together and sew kitchen things for friends. Celebrating both food and friendship, there really is nothing better.
The recipes-


Scrappy pieced potholders
1. Take various quilting cottons in blues, greens, yellow, gray and white
2. Mix together and use with abandon


3. Heavily quilt the quilty sandwiches with a pleasing design

4. Bind with love
5. Repeat as necessary


Happy Placemats
1. Using above color scheme, select fabrics
2. Artfully place pieces in a pleasing pattern

3. Piece fabric together to make a top
4. Select backing fabric

5. Quilt placemat with a pleasing design
6. Bind with love
7. Repeat as necessary.


Friday, May 31, 2013

To all teachers, thank you

Even though my eldest is leaving high school, he still wanted to say thank you to 2 special teachers.
This fabric was recently purchased from a new store in my neighborhood. Treelotta, check it out!
                                   Perhaps you guess which two subjects these teacher taught??

Wednesday, May 22, 2013

Hello, my name is Teresa-

More fun with the Front Range Modern Quilt Guild. For 2013 we have had "swaps"- each month something different.
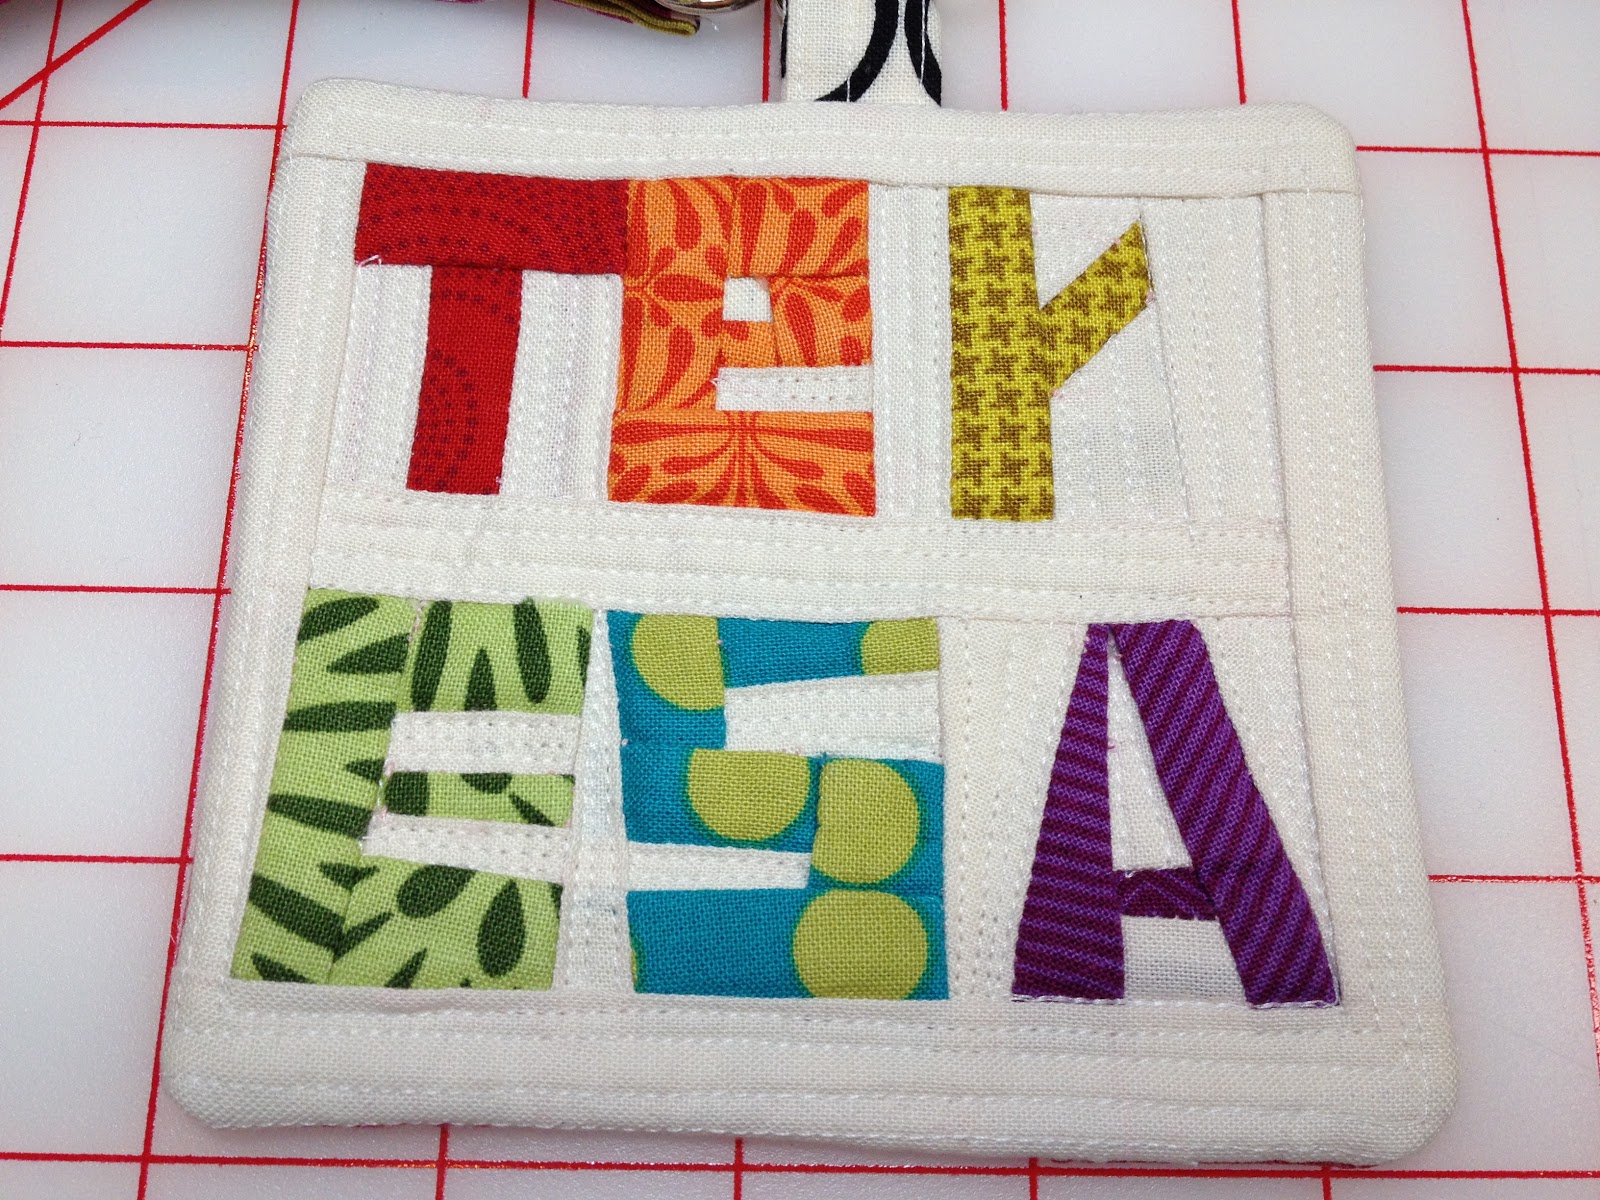
For the Month of May- name tags. We wear then at out meetings, good way to meet the new folks. I got Teresa. She asked if the person who got her would piece her name. At first I'm thinking perhaps Teresa doesn't want to wear a signboard…. so with a little help from the photocopy machine and a pile of tiny scraps, and a wee bit of creative license, Teresa has her pieced name, name tag.
These letters are SMALL. The size of the finished name tag is only 4.5 x 4".
It's densely quilted with Aurifil Thread to match the background fabric (Kona Snow)


The name tag comes with a sewn lanyard. Lots of rainbow goodness. 

Friday, May 17, 2013

Market Bags to-go!

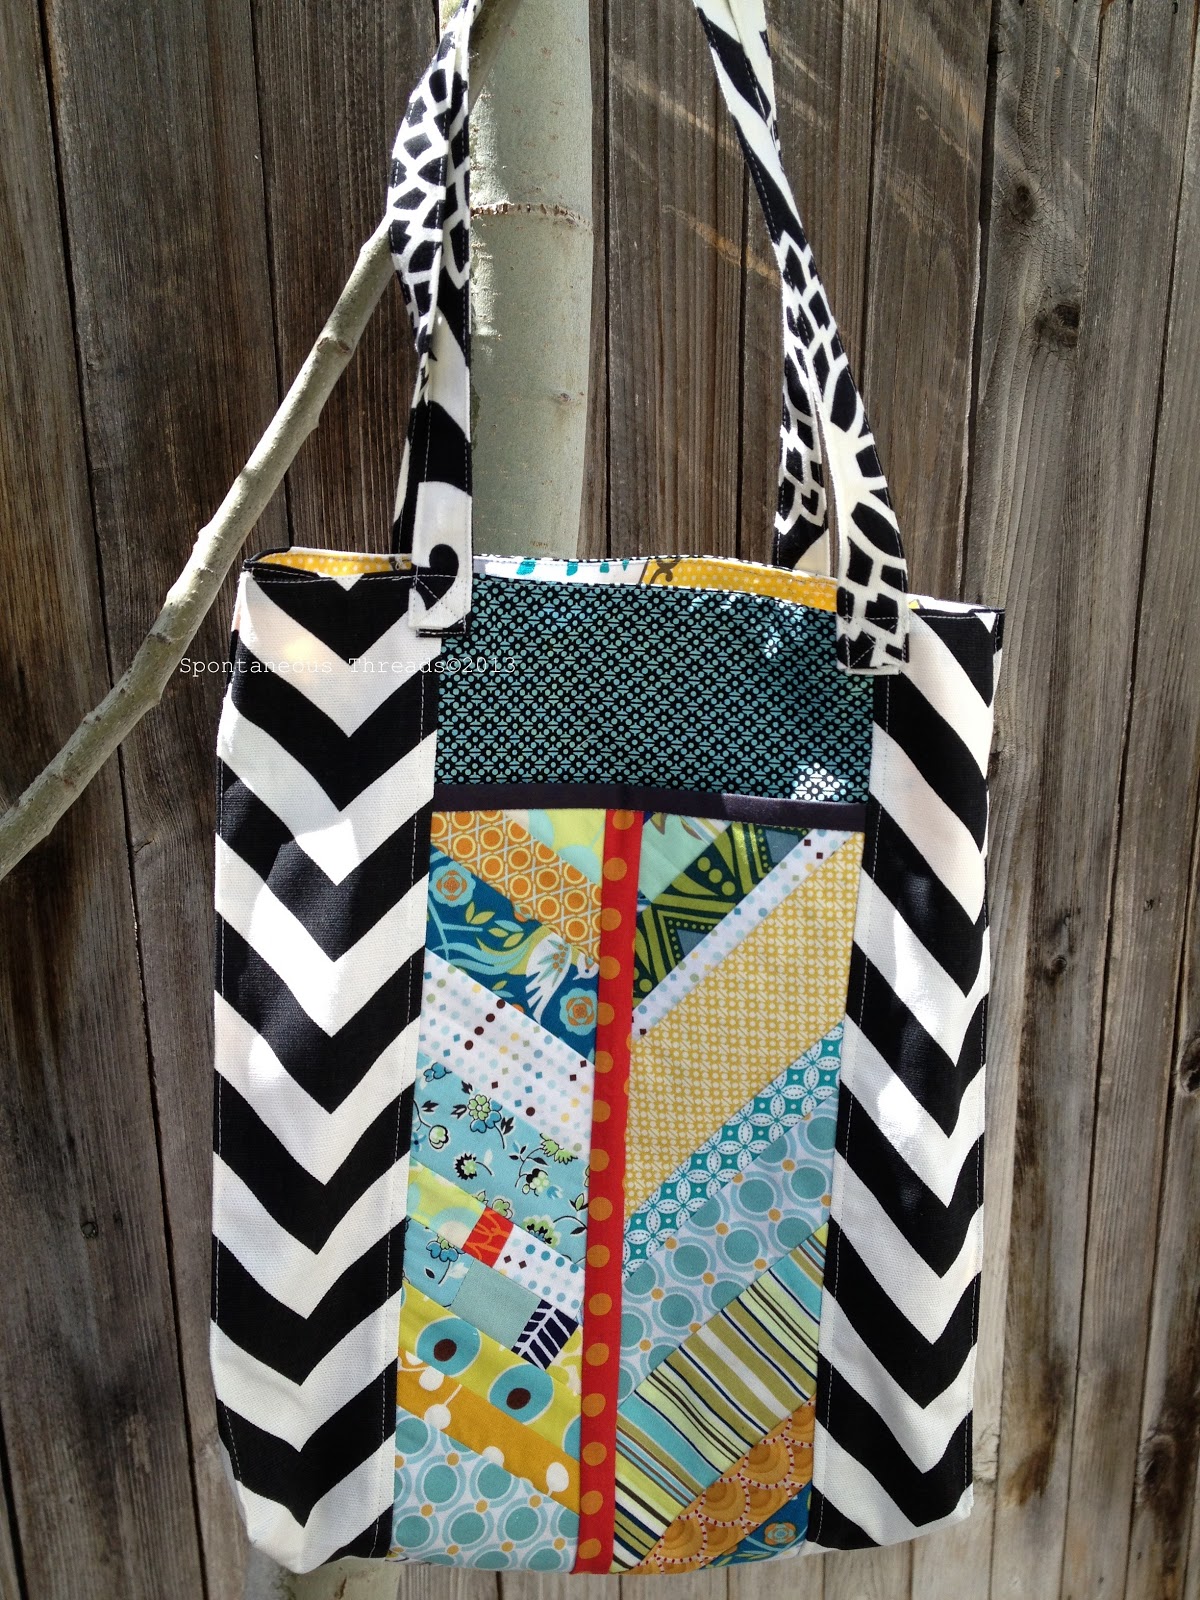
More fun across the Atlantic. Trading Market Tote bags with Corinne (PiecedbyPeace). These are the ones I made for her.

One side of the zig-zag tote (Center pocket pieced from quilting cotton scraps)
Tote body made from Decor weight cotton
One side of the curli-que tote (Center pocket pieced from quilting cottons scraps)
Tote body made from Decor weight cotton
 Soon they will leave here and get to go shopping in Germany. At least if she puts them down they will be easy to find!
Reverse sides of the above totes!! 


Monday, May 6, 2013

From Denver to Boston, with Love


       Have you heard
       I'm sure you have

To Boston With Love


                                                The details you haven't heard
                                                 I grew up near Boston
                                                 I lived in downtown Boston for 4 years
                                                 I have cheered for the runners in the Boston Marathon
                                                 I now live in Denver
                                                 My local Modern Quilt Guild is sending their love
                                          
                                                 I'm sending mine too……
picture taken right after (another) spring snow storm!


Monday, April 29, 2013

Sewing for friends

It's so nice to have talented friends here and abroad. You get to suggest swaps and get packages in the mail. I sent off a package to Corinne (PiecedbyPeace) in Germany. She asked for some "boxes" to keep scraps etc in while sewing. Colors suggested were green, a bit of red and white. I have made a few boxes in the past and have had varing results. Using a new pattern from Ayumi Takahashi's book "Patchwork, Please!", I modified her "My Scrappy Box pattern", so that the box could be folded flat for shipping, thank you IKEA. I also ended up made 2 boxes of different sizes and various coordinating but not matching patchwork.
This is what I ended up with:
nested boxes, the inner box (taller) is from the original pattern.
 For anyone that wants to mail these boxes without incurring cost prohibitive postage, if you (at step # 9) sew into the side seams, about 1.5 " from the top edge on each side, a small elastic hair band, you will create a way to hold the sides up without ladder stitching the sides closed (step #15). All you then have to do is add a button to the adjacent side panel and loop the elastic around the button.
side buttons added to ease with shipping

end buttons added
These can be unbuttoned and folded flat for shipping and once your friend gets the box, if they like, they can ladder stitch the sides.

I did use some fun fabric for the box linings,

the "toile" fabric reminds me of the designs on some old fashioned plates. The one I chose has 2 quilts hanging from a clothes line strung between 2 trees. Kinds old fashioned and cheeky at the same time.

Tuesday, April 23, 2013

Sliver Quilting and X-factor pillows….


Circles, this "round" was all about circles over at the X-Factor pillow swap.
I decided to try a technique new to me, Sliver Quilting from the book, Sliver Quilts by Lisa O'Neill.
I thoroughly enjoyed myself, even read the directions this time, although I confess I didn't follow them precisely. This pillow is made from 4- 12" quarter circles.

Unstuffed pillow, showing quilting detail and my favorite striped shot cotton binding

 It's stuffed with a 26" pillow form and I think that's the right size if you want your pillow to be nice and fluffy, like here.
front

back- invisible zipper
although I'm guessing if you stared even a little bit you can guess where it is hiding.

The Details:
Title: Kaleidoscope Roulette
24" x 24"(unstuffed)
constructed with shot cottons, LouLouthi, and Zen Garden cottons and a circular, bias cut, satin accent
Hidden zipper closure on the back
Central FMQ, circular and ray quilting around the perimeter with  complimentary Aurifil threads
Central shot cotton covered button.

I used masking tape to indicate quilting placement.
There were lots of threads to bury.

the quilting detail stands out in this photo
close- up, front, circular and ray quilting
central FMQ with shot cotton covered button
Muslin backing of quilted front, you can see the overall design much better