Remember these…. the Round and Around Hoop bags- well today is the day for a TUTORIAL and the GIVE AWAY of the Little Pink House Round and Around Hoop Bag. (featured top center).
First the tutorial : (be patient)
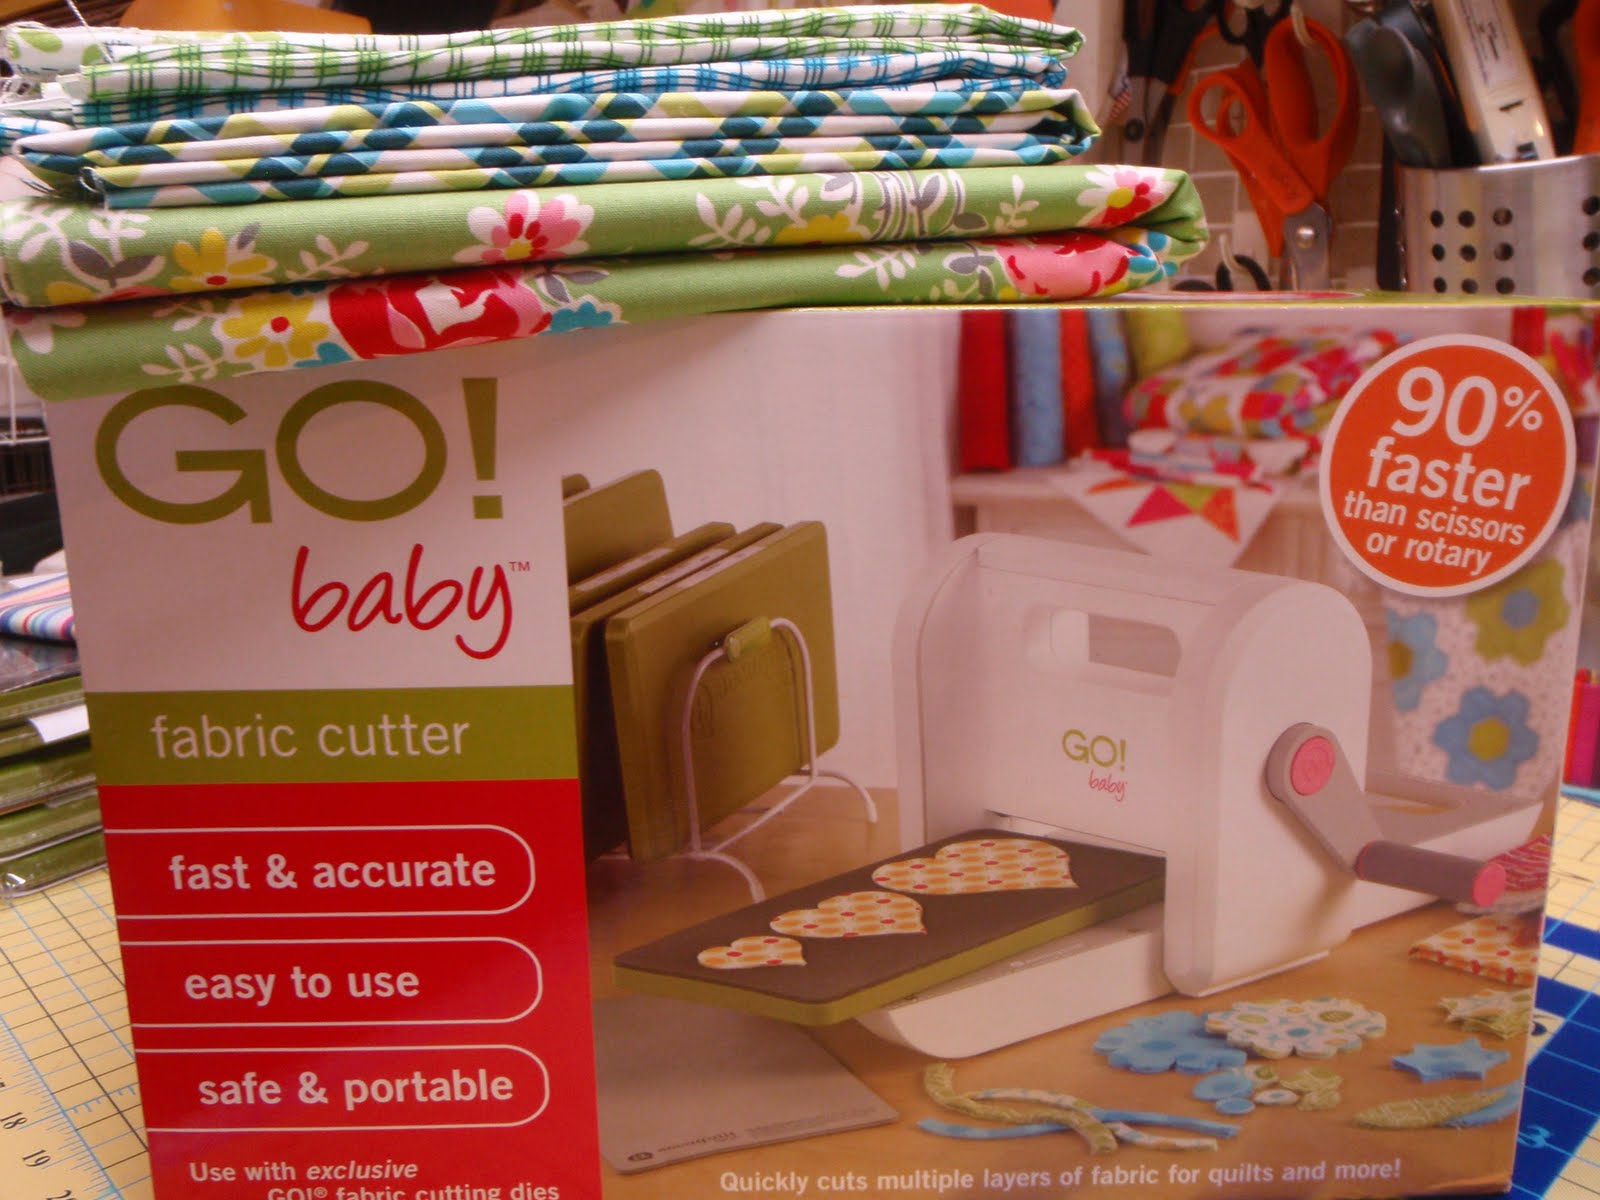
Materials:
Fabric scraps for front and back ("outer fabric)
about 1/2 yard of fabric for lining, or some fat quarters- depending on desired finished size
fusible fleece and mid-weight fusible interfacing (fleece for the outside fabric; interfacing for the lining)
a zipper (length determined by the diameter of your hoop bag).
for a 7" diameter circle you'll need a 11" zipper
for a 9" diameter circle you'll need a 14" zipper
to calculate the zipper length for the size Round and Around Hoop bag you want to make (3.14 x
diameter of your chosen circle) divided by 2 (the zipper only goes 1/2 way this bag)
15 x 3" scrap for handle and loop
5 x 2" piece of fabric- These will be used as the zipper "stops"
D ring and swivel hook for handle
sewing supplies and sewing machine.
Coordinating or contrasting threads.
All seam allowances are 1/4" unless stated otherwise.
These directions work no matter what size Round and Around Hoop bag you are making..
 |
| My fabric selection |
Using your circle template, (I used a dinner plate), trace circle onto fusible fleece (2) and mid-weight interfacing (2).
Cut out the fusible fleece and iron (as per the fleece directions) onto the fabric you have chose to be the outside front and back of your Hoop bag. Using the fleece as your circle template, cut your fabric to size.
**** Note: you can piece the front and the back outer fabrics and then iron on the fusible fleece or you can keep it plain. In the 3 Round and Around Hoop Bags I made, I pieced all 3 fronts, and embroidered them too. You an get as fancy or keep it as simple as you like. I found that this was another great way to use up some of those precious scraps……
 |
| hum, not enough linen……. |
 |
| make linen "bigger" by adding some fabric |
 |
| one inset strip |
 |
| second inset strip and embroidery floss I chose for the hand stitching. If you want to embellish your Round and Around Hoop Bag, I suggest you doing it at this stage, before you iron on the fusible fleece |
Cut out the mid-weight interfacing and iron (as per the directions) onto your lining fabric. Cut out fabric using the interfacing as the template.
Tale your 5 x 2" fabric strip and press wrong sides together along the length of the fabric. Open and press each long edge toward the center. Fold in half long ways enclosing raw edges and iron. Set aside.
Trim the zippers "ends" just beyond the metal stops. Taking the fabric you just prepared, slip the trimmed zipper end into the open end of the long side of the fabric and (using your zipper foot) sew as close as you can to this edge, encasing the just cut edge of the zipper. Trim to width of zipper. Repeat with other zipper end.
Place outer fabric on a flat surface, right side up. Put your zipper, zipper pull side facing the right side of your outer fabric. Then place your lining fabric right side down on top of the outer fabric and the zipper. Line up the edges of all 3- (you'll have a sandwich of fabric with fused fleece, zipper and lining with fused interfacing).
At this point depending on which kind of sewist you are, you may pin through all 3 layers, keeping the outer edges of all these components of your sandwich lined up, or you can bring the whole thing over to your sewing machine and with your zipper foot in place, sewing slowly and adjusting often, sew your zipper in place. Remember, if there is a direction to your pieced front, (like a top and a bottom) make sure you note this when placing your zipper and creating your sandwich.
Take the sandwich piece with attached zipper and then add the back and the lining the same way you added the front and the lining. (you'll have 1/2 your bag attached to the zipper but just place it to the side). Attach the back and the lining in a manner similar to the front and the lining.
At this point if you like you may top stitch the Round and Around Hoop Bag at the zipper line. I have done it both ways, with and without stitching, and it really is personal preference.
At this point 1/2 your bag is complete!!!! (or your bag is 1/2 completed).
Time to make the handle (if you want one).
Tale your 15 x 3" fabric strip and press wrong sides together along the length of the fabric. Open and press each long edge toward the center.
Fold in half long ways enclosing raw edges and iron. Your piece should be approximately 3/4" x 15".
(See series of pictures already shown under pressing the 5 x 2" fabric piece for the zipper stops)
bring to your machine and sew as closely as you can to the edges along each long side.
Cut a 3" strip from the 15" length and fold in half length wise. Slip a D ding on loop. Pin open edge closed and put aside
Taking the remainder of the strip slip your clip onto the fabric length and 1/2" from the cut edge sew back and forth across the middle. Slip the metal clip down to the just sewn seam and fold the handle fabric back on itself enclosing the raw edge (and the 1/2 inch seam allowance) and the metal clip. Sew across the middle back and forth to secure. Your handle strap is complete. Set aside for now. (If you have another method for making the handle that you like- by all means use what suits you best).
 |
| note that D rings vary in size and you may have to adjust your fabric width for the handle piece to fit your hardware. |
Take your fabric zipper sandwich and open the zipper 1/2 way. (This is really important unless you are fond of your seam ripper and cuss words).
With the right sides of the outer fabric facing, and the lining out of the way, and beginning at where the zipper stops (either end), pin the loop for the handle to the edge of the bag. I chose a spot about 1" down from the zipper to help with all the fabric congestion. Remember the loop faces into (towards) the interior of the Hoop bag, with it's raw edges lined up with the fabric raw edges. Sew, beginning at either end and using a 1/4 inch seam allowance the front (outer) and back (outer) fabric/fleece together at the perimeter of the circle. Starting and ending are the hardest parts because all the fabric and zipper are in the way. Do your best and back tack if you can. (There may be a small hole remaining when you turn the whole thing right-sides out, but this is easily stitched close by hand)
 |
| I am pinching the fabric zipper stop to move it out of the way. The lining fabric is out of the way along the upper left side of the photograph. If placing a loop, do so about 1" beyond the fabric zipper stop. (The loop is not shown in this photograph). |
 |
| outside fabric, right sides together. Remember to pin your loop in place at this step before you sew!!! |
 |
| use a 1/4" seam to sew the perimeter of the outer fabric layers |
Repeat this last step with the lining fabric, right sides together, (with the outer fabric out of the way) with one important change: leave a 4" opening along the bottom of the lining. You will turn the bag through this hole, and then close the hole by hand or by machine. Stitch with a 1/4" seam allowance along the fabric perimeter, leaving the 4" opening.
Ok, Turn your bag through the hole in the lining- (if you forgot to unzip your zipper as directed, then this is where you can get out your seam ripper, turn up the radio and let her rip). After turning, use the opening to poke and prod all your circle seams into circle wonderfulness. Using a chop stick or a knitting needle really evens out those seams. Do this before you close the lining opening. If everything is to your satisfaction sew up the lining and press if you like.
 |
| closing the opening in the lining after getting all the seams nice and neat. |
DONE!!!!!!
|
|
front- loop on left, embroidery at 12 o'clock
|
|
|
very cute zipper pull
Attach your handle to the loop and go ahead and put your embroidery gear inside. Carry around with pride!!!
|


Note to think about. Do not use the embroidery hoop you hope to place into your Round and Around Hoop bag to trace your circle template. The bag will be too small once the seams are sewn. Although you will still have a lovely bag. I used a dinner plate and that worked nicely. Pot lids also work great if you have one in a size that suits your needs. I was also thinking if you had a cymbal player, or a drummer in your family, you could make some awesome bags for the musician in your life. Use the instrument itself for the template adding 1" to the entire circumference, unless you have some really big pot lids to use. And I would put a secure strap on these (because of the weight and the "valuable" factor) and omit the more dainty handle, or sew the handle directly to the bag, omitting the loop and connectors for a more secure grip. Nylon strapping in a fun color would work great.
Now…….. (cymbals clanging in the background and a drum roll too) the winner of the Little Pink House, Round and Around Hoop bag and embroidery extras is…….
GILL!!!!!!
who said "This is gorgeous! It would be perfect for storing my hexagons and other bits and pieces!
I'm looking forward to the tutorial"
Please contact me (Stephanie) at spontaneousthreads@gmail.com to claim your prize. I will try and contact you as well, but you no reply bloggers are hard to find….. I will tell you what I need and get your prize to you as soon as I get your information.
Have a great weekend and I'd love to hear from you if you make a Round and Around Hoop bag from my tutorial.