 |
| Clothes pin keeper ready to go! |

You will need some fabric (your choice of course) for the outside, and lining
Climbing rope or clothes line (cotton, not plastic coated wire)
Fusible fleece 1/2 yard should make you at least 2 clothes pin keepers
Something to clip your clothes line keeper to the clothes line
I chose the following fabrics
Night Sky (Tina Givens)- aqua
Ta Dot (Michael Miller)-yellow
Fresh Flowers (Deb Strain)-orange
Belle (Amy Butler)-lining- shown on top most photo, far right
Cut your climbing rope to 18", singe ends to keep from unraveling and sew ends together to form a circle. I highly suggest you do this by hand.

Cut your fusible fleece and lining material to 20 x 10.5 inches. Fuse lining to fusible side of the fleece.
Use your rope circle to trace the template for the bottom like this

I added about 1/2 inch extra for the seam allowance.
Use your template to cut fleece and lining, fuse both together
 |
| round base and sides with lining fused to fleece |
Now, start cutting into your fabric, strips 20 inches in length. The width you can choose based on your fabric and how you want your final clothes pin keeper to look. You will use a quilt as you go method to attach these strips to the fleece.


Placing right sides together and using a 1/4 inch seam stitch fabric strips to fleece.
When done the outside and bottom can look like this:
 |
| Main portion of clothes pin keeper |
 |
| bottom using left-overs |

Zig zag all raw edges. Now it's time to assemble the clothes pin keeper. With right sides facing and lining on the outside, sew the side seam with a 1/4" seam. Pin and sew bottom to bag. Like this:

Now here is the fun part. Using a zipper foot, and with your clothes pin keeper still inside out, slide your circle of climbing rope onto the outside of the bag and move it towards the top. Fold the top over the rope until you have enough overlap to sew your fabric in place encasing the climbing rope. (I used a purple climbing rope so you could see it better).
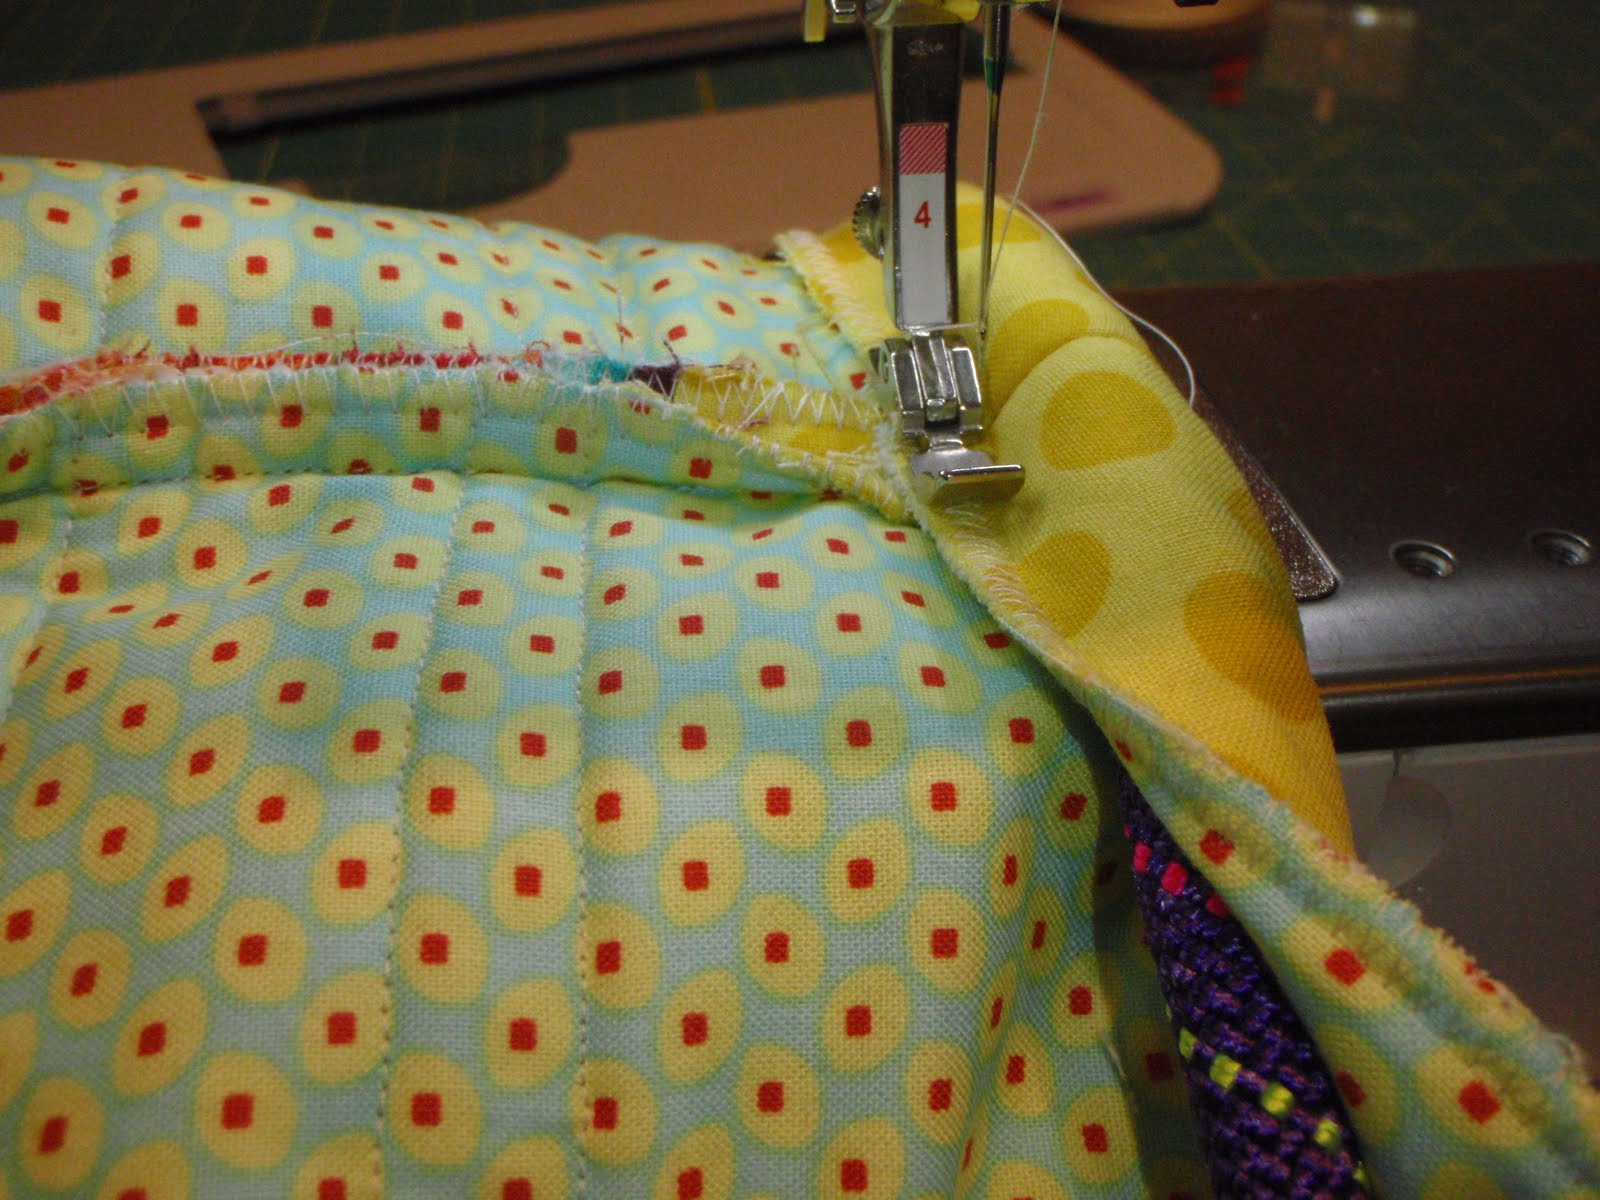
Continue all the way around encasing the rope, use a 1/4 inch seam- or width of your zipper foot which ever is easier. Almost done!
 |
| Here I am waiting for my loop so I can be hung. |

Use some of the fabric you have chosen and cut a piece 6 inches by 3 inches. Iron wrong sides together lengthwise. Open strip and fold each side into the center crease. Iron and then fold again. Stitch the edges closed. Fold in half long ways, folding under the raw edges and stitch to your clothes pin keeper just to the side of the side seam (it might be too much fabric to try and attach right over the side seam, but the final placement it up to you). I like to secure the loop at the bottom and then again just below where the seam for encasing the rope (keeps it from flopping too much). (You can also use ribbon or nylon webbing if you don't want to use a fabric loop- again this is a personal design decision).

Attach a clip/ carabiner so you can attach your clothes pin keeper to the clothes line. (See top photo in this post). (You can get these carabiners at Michaels and Hobby Lobby- or if you are like me, you might already have a few at home).
Well, I hope you enjoyed this tutorial. I'm thinking this might also might make a really cute catch-all mini bucket, or a thread/ scraps holder, or a mini trash can, or well, you catch my meaning.
If you try this tutorial and come up with an alternative use for this, let me know. Send me a photo or your finished project or a link to your Flickr photo URL or your blog post and I'll include it in a future post. Mostly- Have fun!
this is such a fun idea! If only I had a clothes....Thanks for sharing!
ReplyDeleteHow cool is that? I am so doing this! I have been looking for a tute to make me one of these. Hung my sheets out on the line this weekend :) They smell sooo fresh!
ReplyDeleteThis is a wonderful project! And just in time for me...I'm getting a new clothesline set up in the yard this spring! Thanks for sharing!
ReplyDeleteOh, I NEED one of those! Perfect!
ReplyDeleteboy, do I miss having a clothesline :( Awesome project!
ReplyDeleteI love your choice of fabrics! They're so happy!
ReplyDeleteHave a great weekend!
What a fabulous tutorial! That bag is perfect for clothes pins and much more I'm sure! Thanks for linking to fabric Tuesday :)
ReplyDeleteI use a wicker basket with a carabiner and I like it...but I was thinking about making something like this for a friend, now I have a great tutorial to guide me along, Thanks!
ReplyDeletewow, love your pinbag!! Made my own: http://spontaneousthreads.blogspot.ca/2011/04/clothes-pin-keeper-tutorial.html
ReplyDeleteThanks for your great tutorial!!